
In this article, I will demonstrate how to Setup a Course Content within MarketingBlocks.
To access the tool, you first need to create a project. If you haven't done so already, please refer to this article on how to create a project.
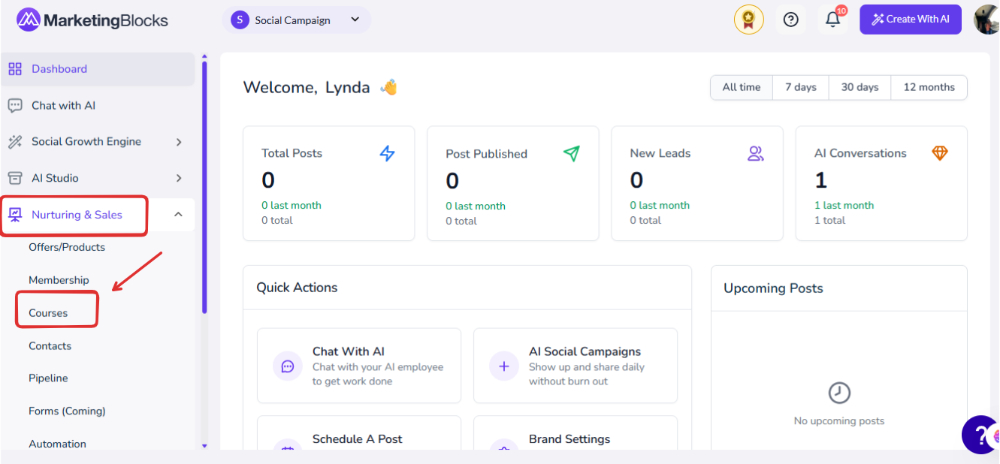
Step 1: From your preferred project, click "Course Builder"
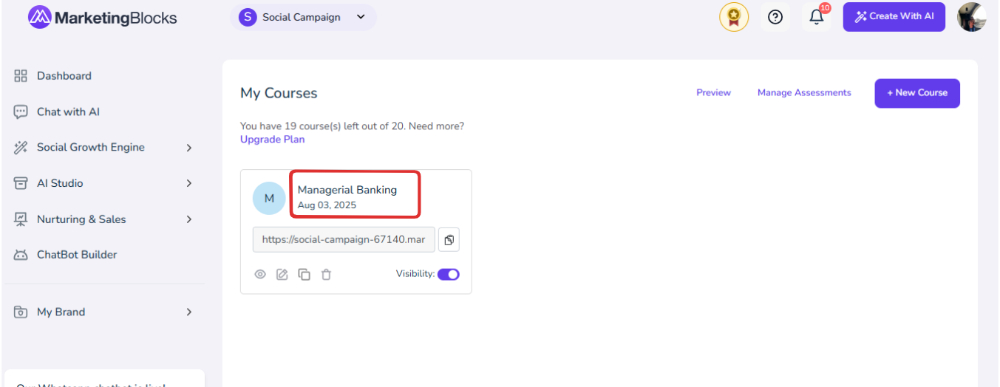
Step 2: Click on the Course Title.
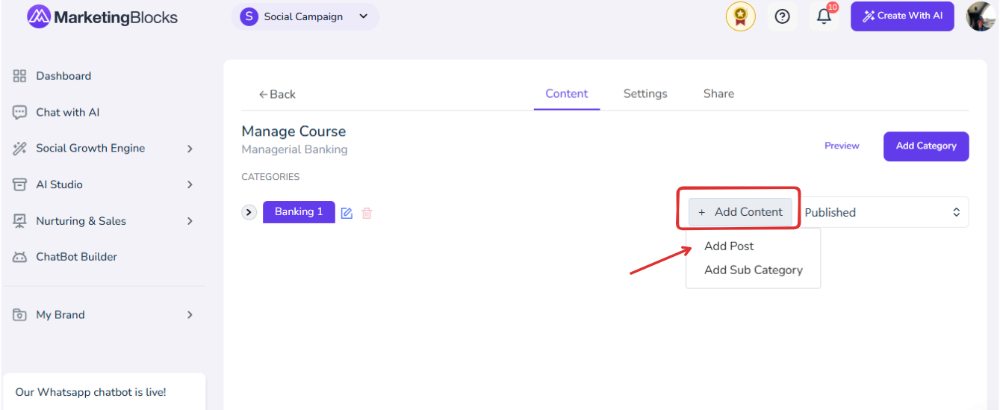
- Click "Add Content" and click "Add Post"
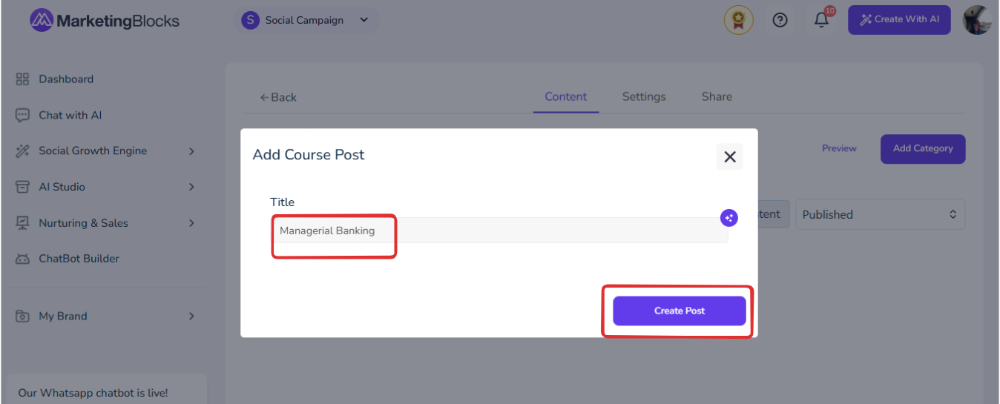
- Give it a "Title" and click "Add Post"
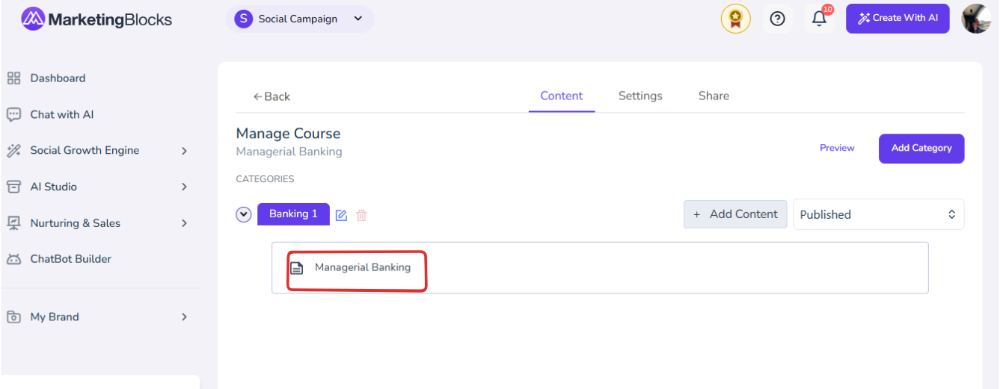
Step 3: Once the title is created, hover inside to edit it.
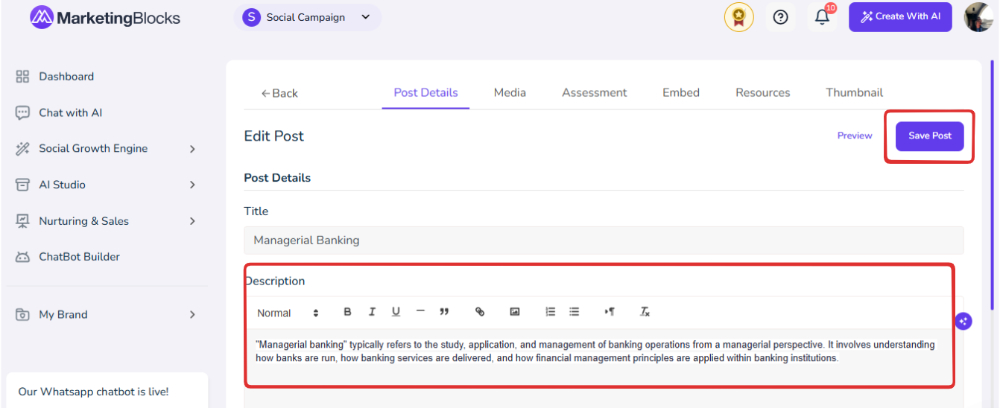
- It will take you to a page, add your content in the description section.
- Once that is done, click "Save Post"
That's it!
If you need further assistance, kindly use the chat widget at the bottom-right corner of this page or email our support desk(support@marketingblocks.ai) for prompt assistance.
Thank you!