
In this article, I will walk you through the simple steps to create a Campaign in your AI Social Campaigns.
Below are the steps:
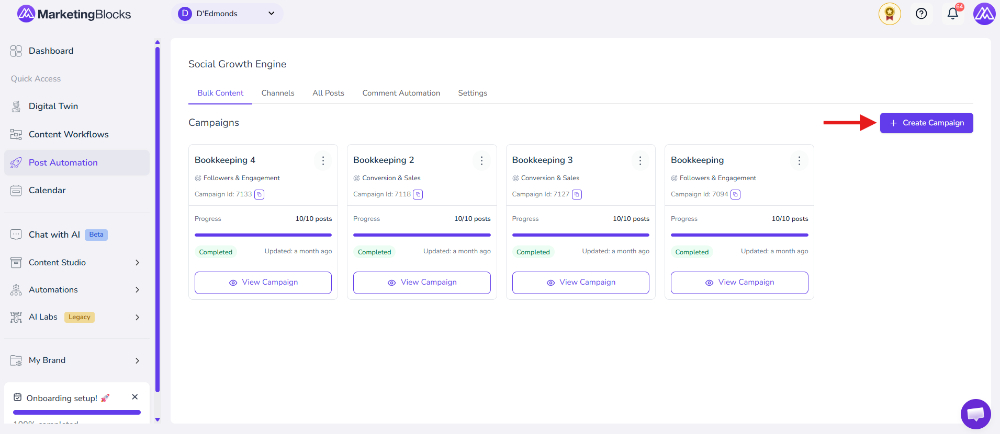
Step 1: From your dashboard, click "AI Social Campaigns"

Step 2: Click on "Create campaign"
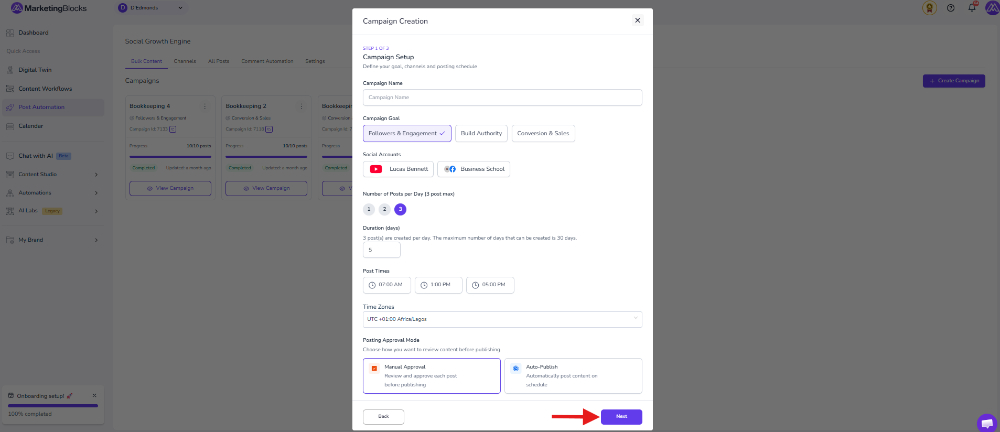
Step 3: In this step, you will set up your campaign by choosing your goal, selecting social accounts, defining your posting schedule, and deciding whether posts should be manually approved or automatically published, and click on next
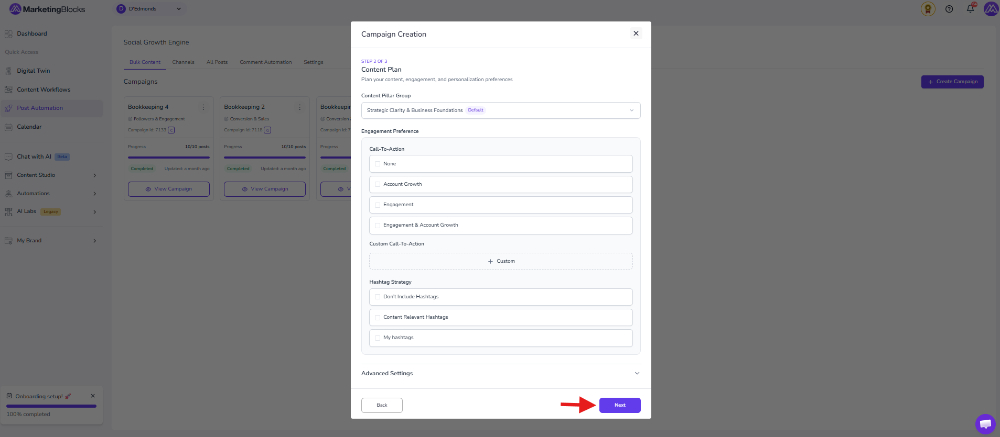
Step 4: In this step, you will plan your content strategy by selecting your content pillar, engagement style, call-to-action preference, hashtag strategy, and additional advanced settings for your campaign, and click on next
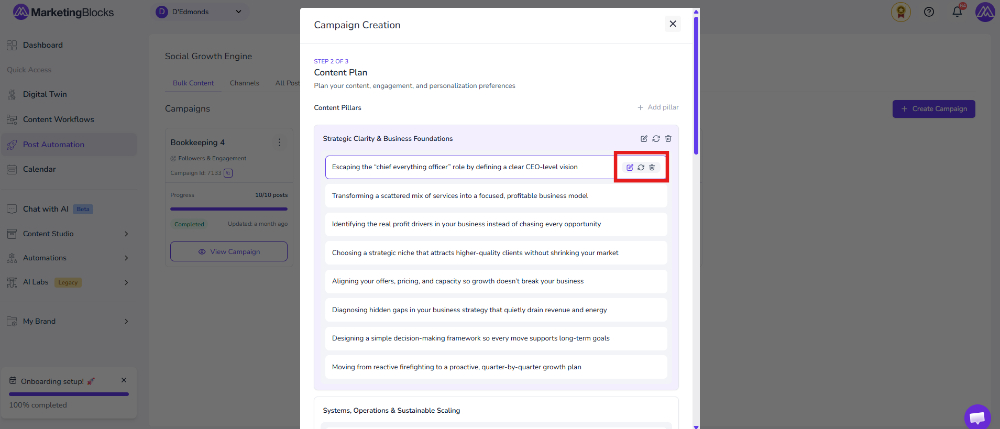
Step 5: Plan your content, engagement, and personalization preferences. You can edit it and also rewrite when done., Click next
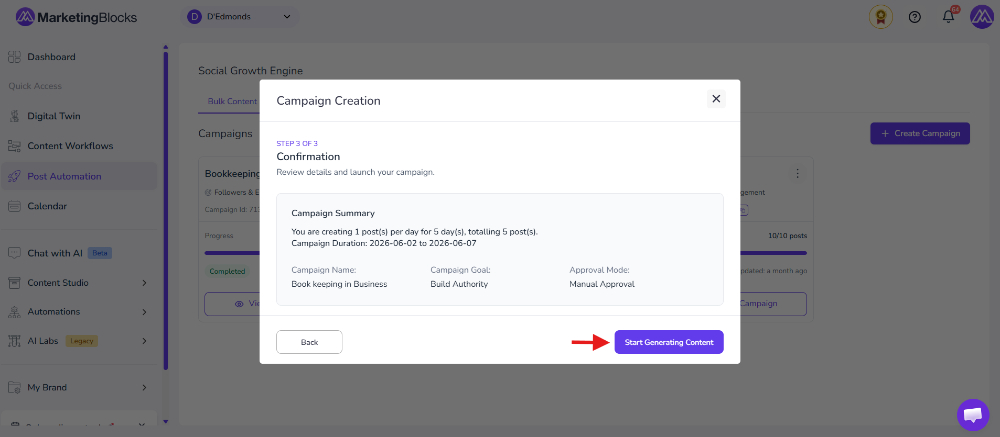
Step 6: Review details and launch your campaign.
That's it!
If you need further assistance, kindly use the chat widget at the bottom-right corner of this page or email our support desk (support@marketingblocks.ai) for prompt assistance.
Thank you!