
This guide will explore the steps in setting up an automated training process for your chatbot. We'll show you how to connect your chatbot to a data source using Zapier, which allows you to automate workflows by connecting different apps. We'll also discuss using Notion, a versatile workspace application, to manage and update your data. Integrating these tools lets your chatbot be trained automatically, keeping it responsive, relevant, and ready to engage users.
The process we'll outline is straightforward, even if you're not a tech enthusiast. By the end of this guide, you can auto-train your chatbot using third-party data sources, freeing up your time and ensuring your users are getting the best possible experience from your bot.
So, let's dive in and uncover the steps to take your chatbot training to the next level of automation!
How to Integrate Your AI Bot with Notion
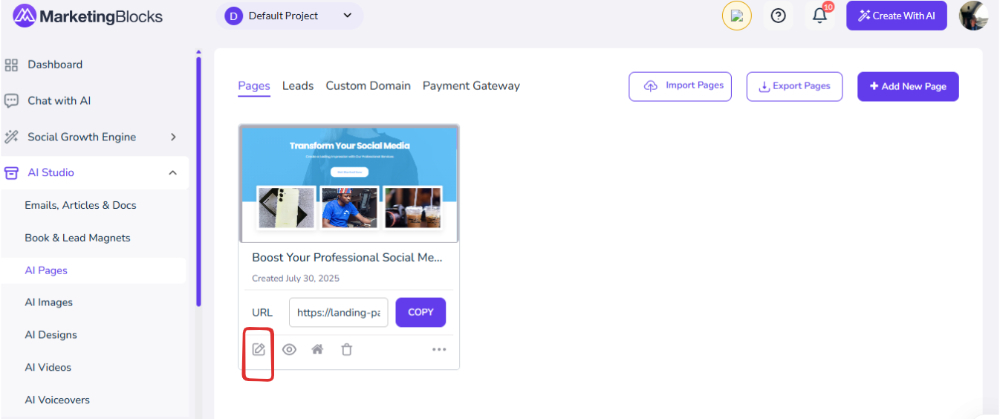
Step 1: From your dashboard, choose your preferred project.
- Click on "Page Builder 3.0"

Step 2: Click "Edit" to open the existing page.
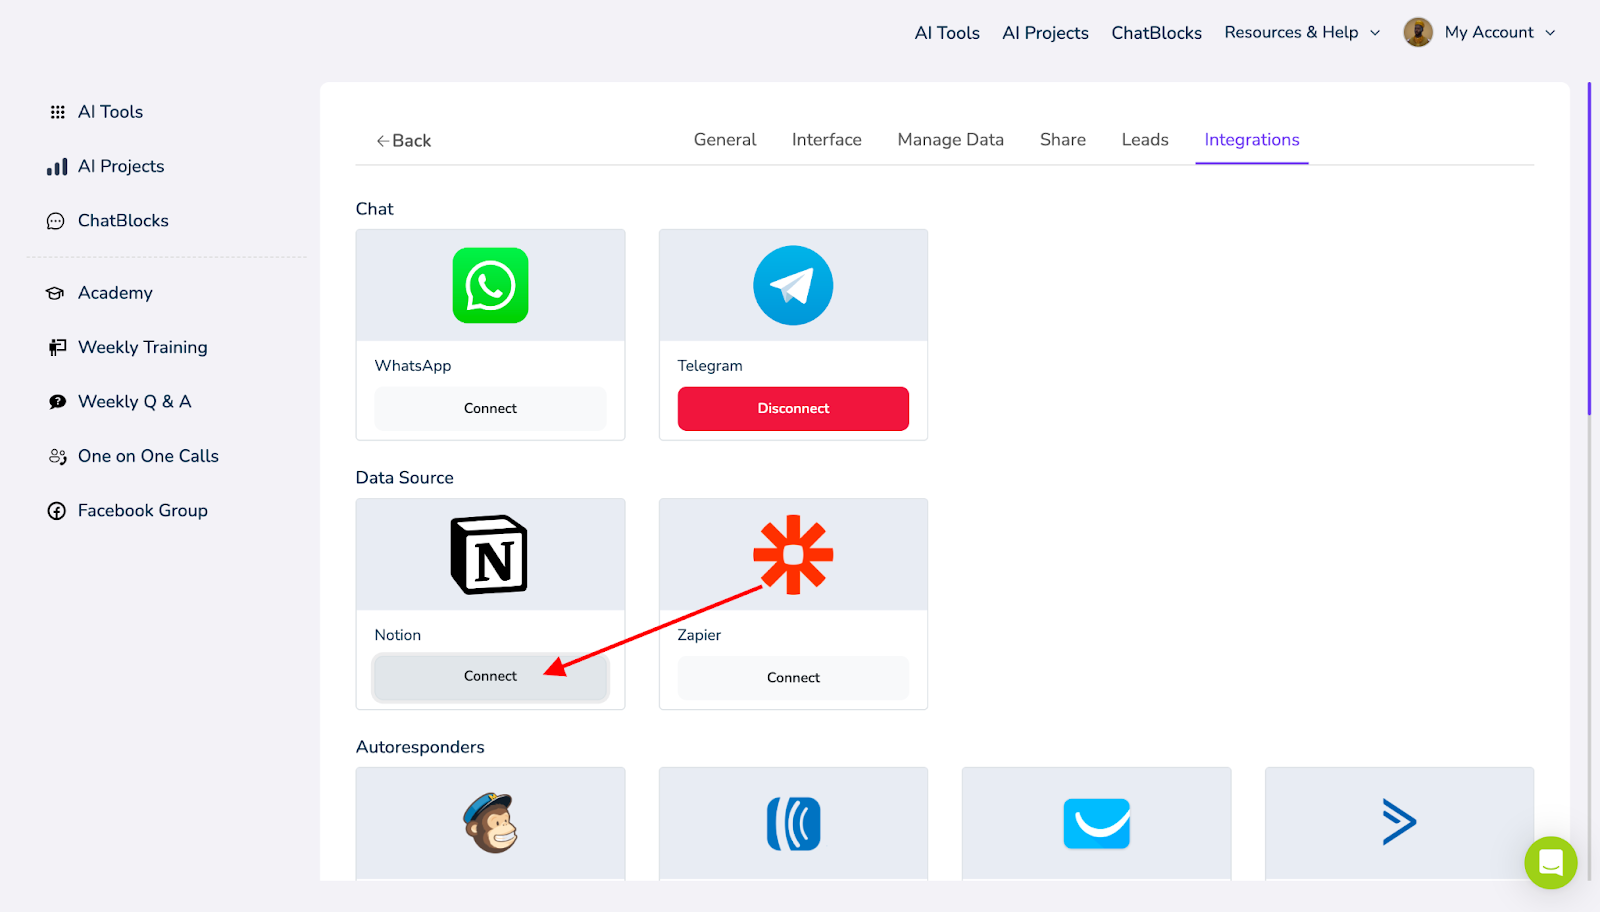
- Click "Integration"

Step 3: Connect with Notion
- Find Notion from the list and click on the "Connect" button. This will initiate the connection process with your Notion account.
- Upon clicking connect, you'll be redirected to a new page where Notion requests you to grant MarketingBlocks access to your Notion account. This is a necessary step for the integration to work.
After granting access, you'll be asked to select the pages you want the AI bot to interact with. Click "Select pages" and choose the desired page or pages from your Notion account.

- Once you've selected the appropriate pages, click the "Allow Access" button. This will grant the AI bot permission to interact with the selected pages.
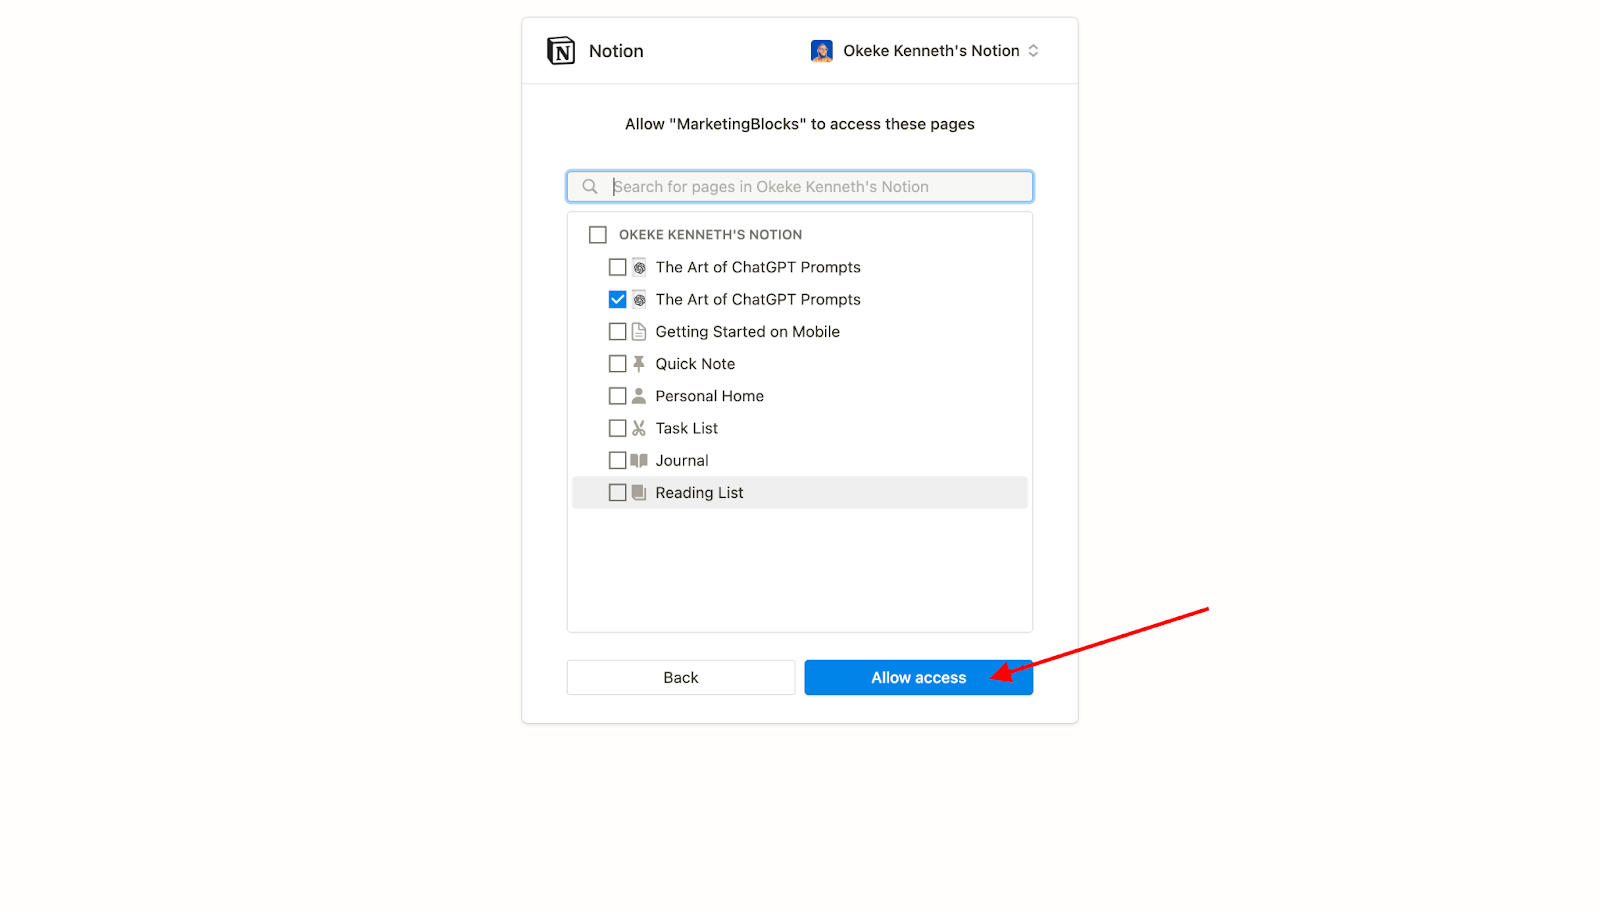
- With the "Allow Access" button clicked, Notion is automatically connected to your AI bot. You should be redirected to MarketingBlocks, where the integration status should reflect this connection.

Your AI bot is now successfully integrated with Notion. You can begin using the bot to automate tasks and interactions with your selected Notion pages. Be sure to test the integration to ensure everything works as expected.
How to Integrate Your AI Bot with Zapier
This knowledge base article will guide you through the steps to integrate Zapier with your AI bot using MarketingBlocks. We will use Google Docs as our trigger data source for this demonstration.
Requirements:
- An active Zapier account
- A MarketingBlocks account with access to your AI bot
- Google Docs account
Step 1: Access the Integrations Tab
In your MarketingBlocks dashboard, navigate to the "Integrations" tab. This tab lists all the possible integrations with your AI Bot.

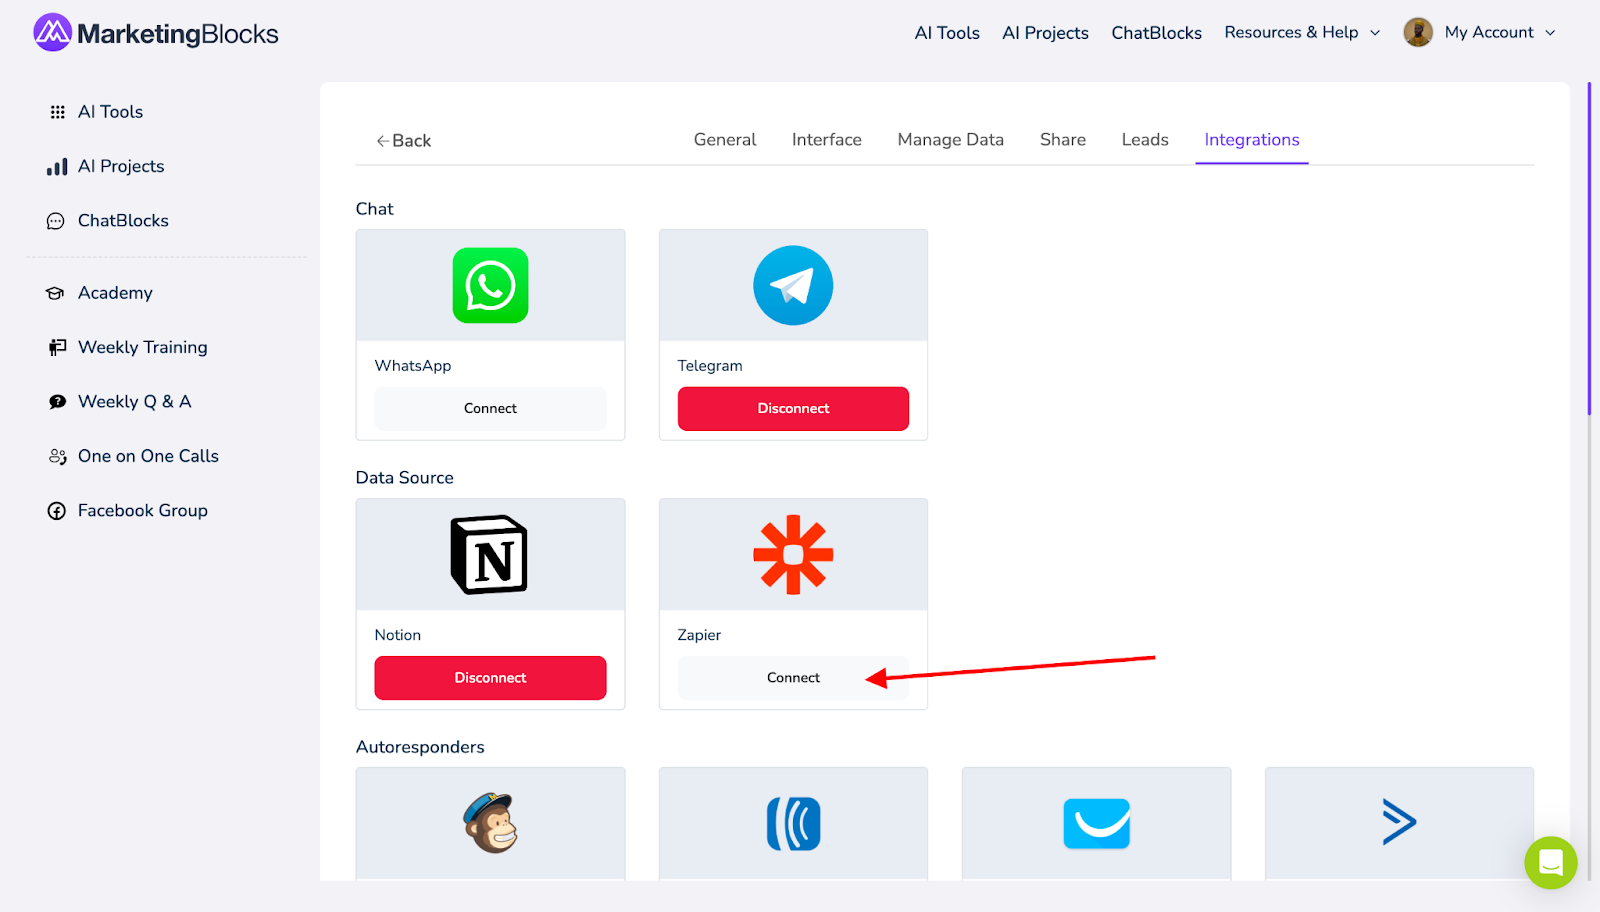
Step 2: Connect with Zapier
- Find Zapier from the list and click on the "Connect" button. This starts the process of connecting your AI Bot with Zapier.
- You'll be given an API key for the integration. Copy this key and keep it handy; you'll need to input it into Zapier shortly.

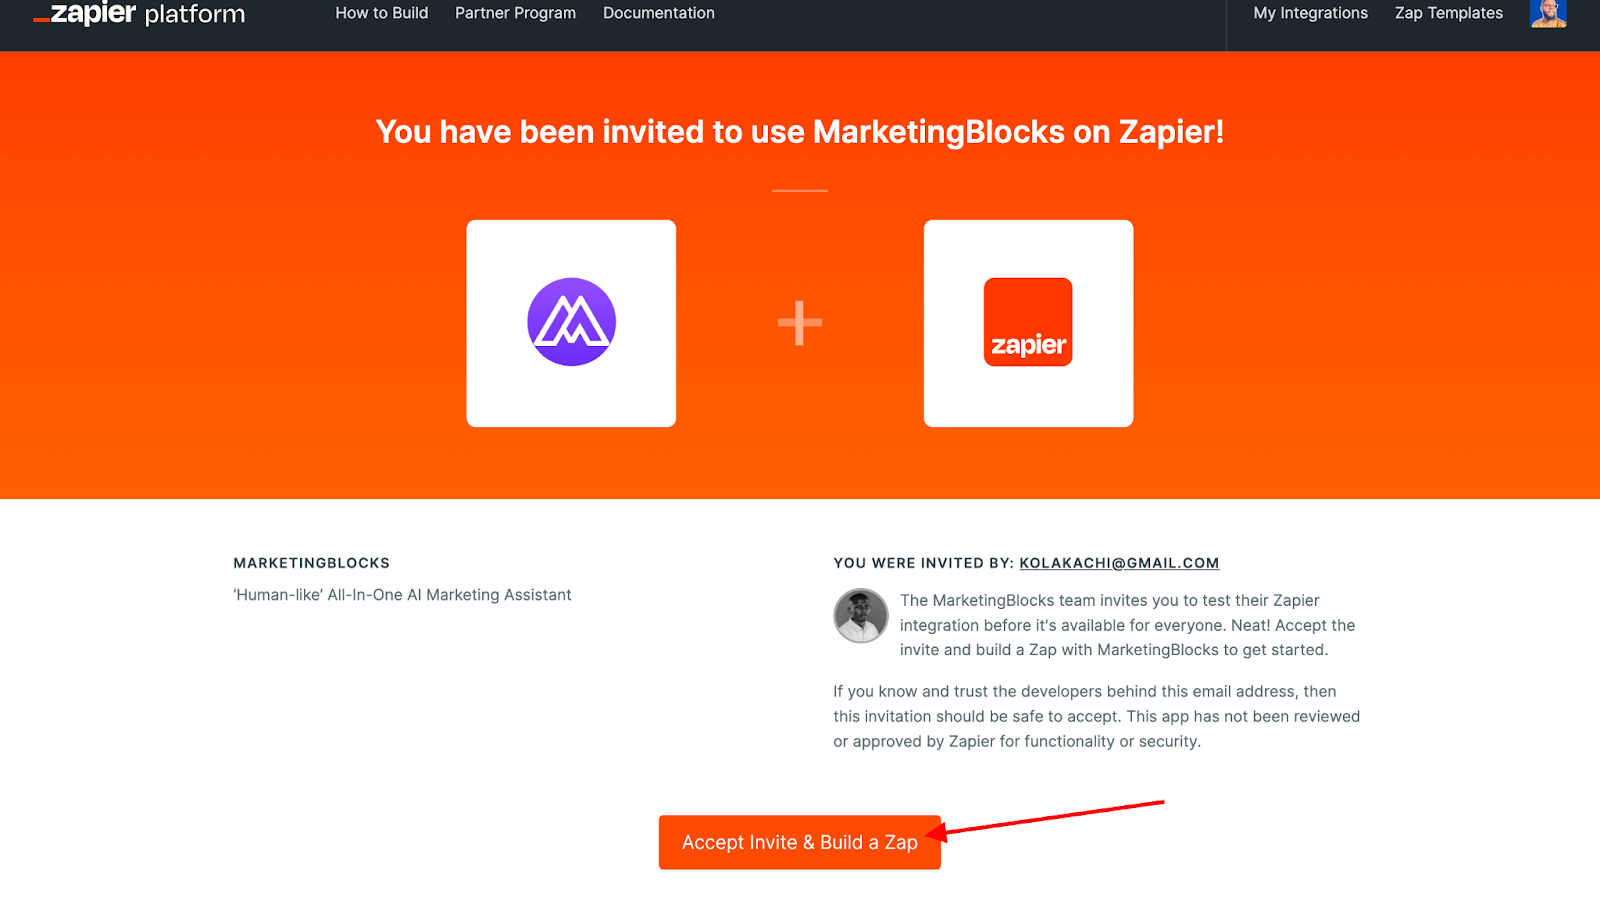
- Click "Continue to Zapier" to redirect you to the Zapier website. You'll be prompted to do so if you're not already logged in. On the Zapier website, click on "Accept Invite & Build a Zap" to permit the integration with MarketingBlocks.
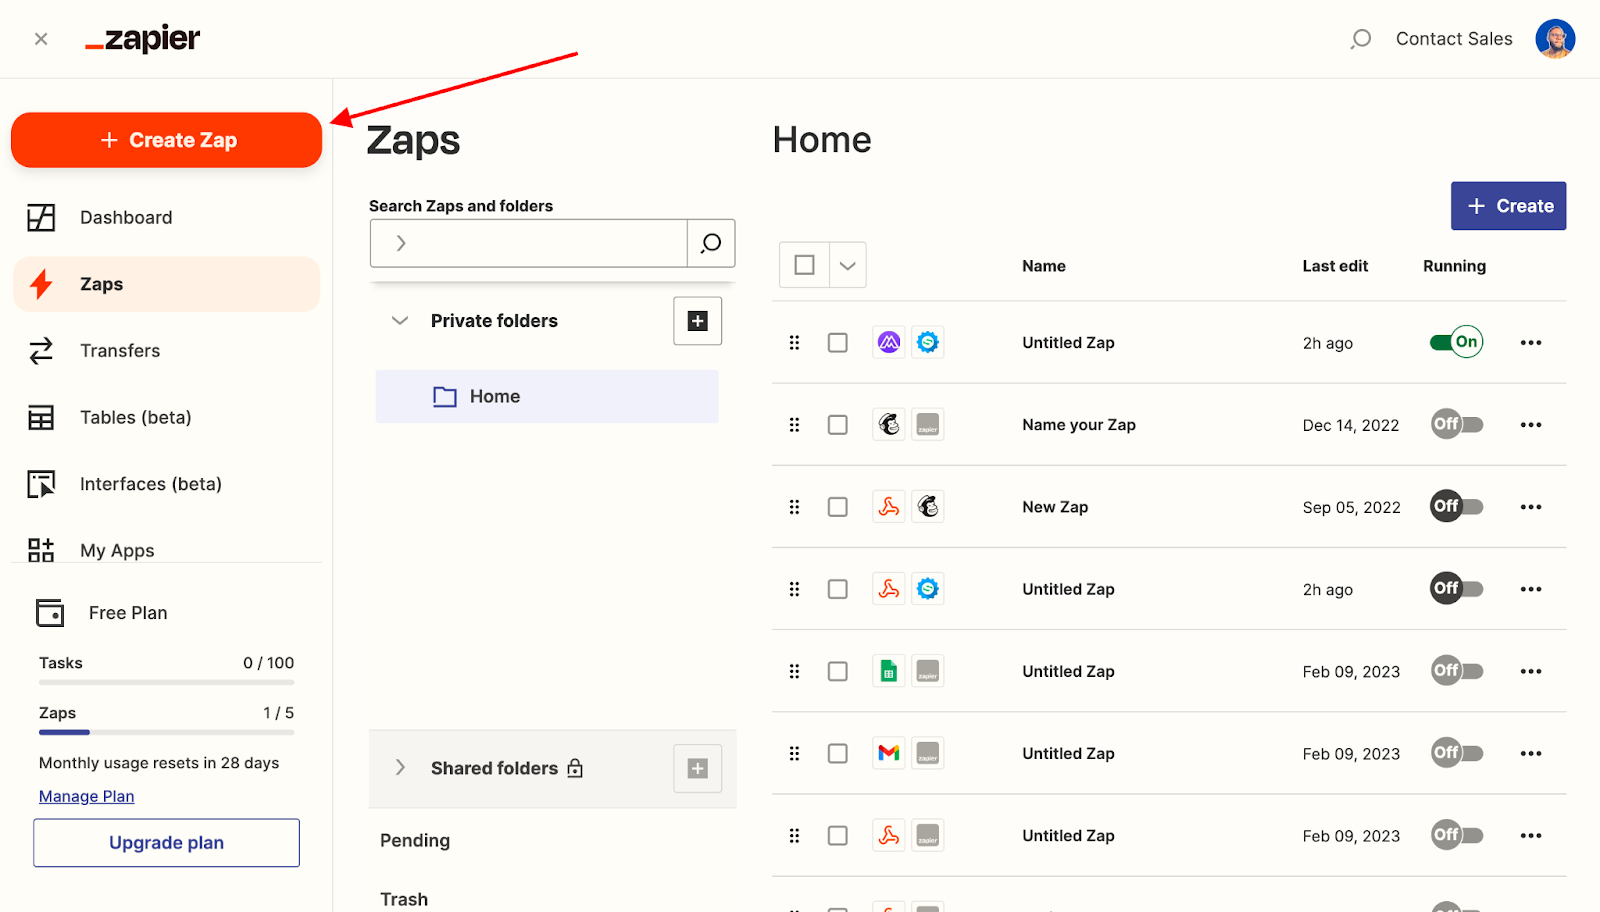
- Next, click on "Create Zap" to start setting up an automated workflow (called a Zap).
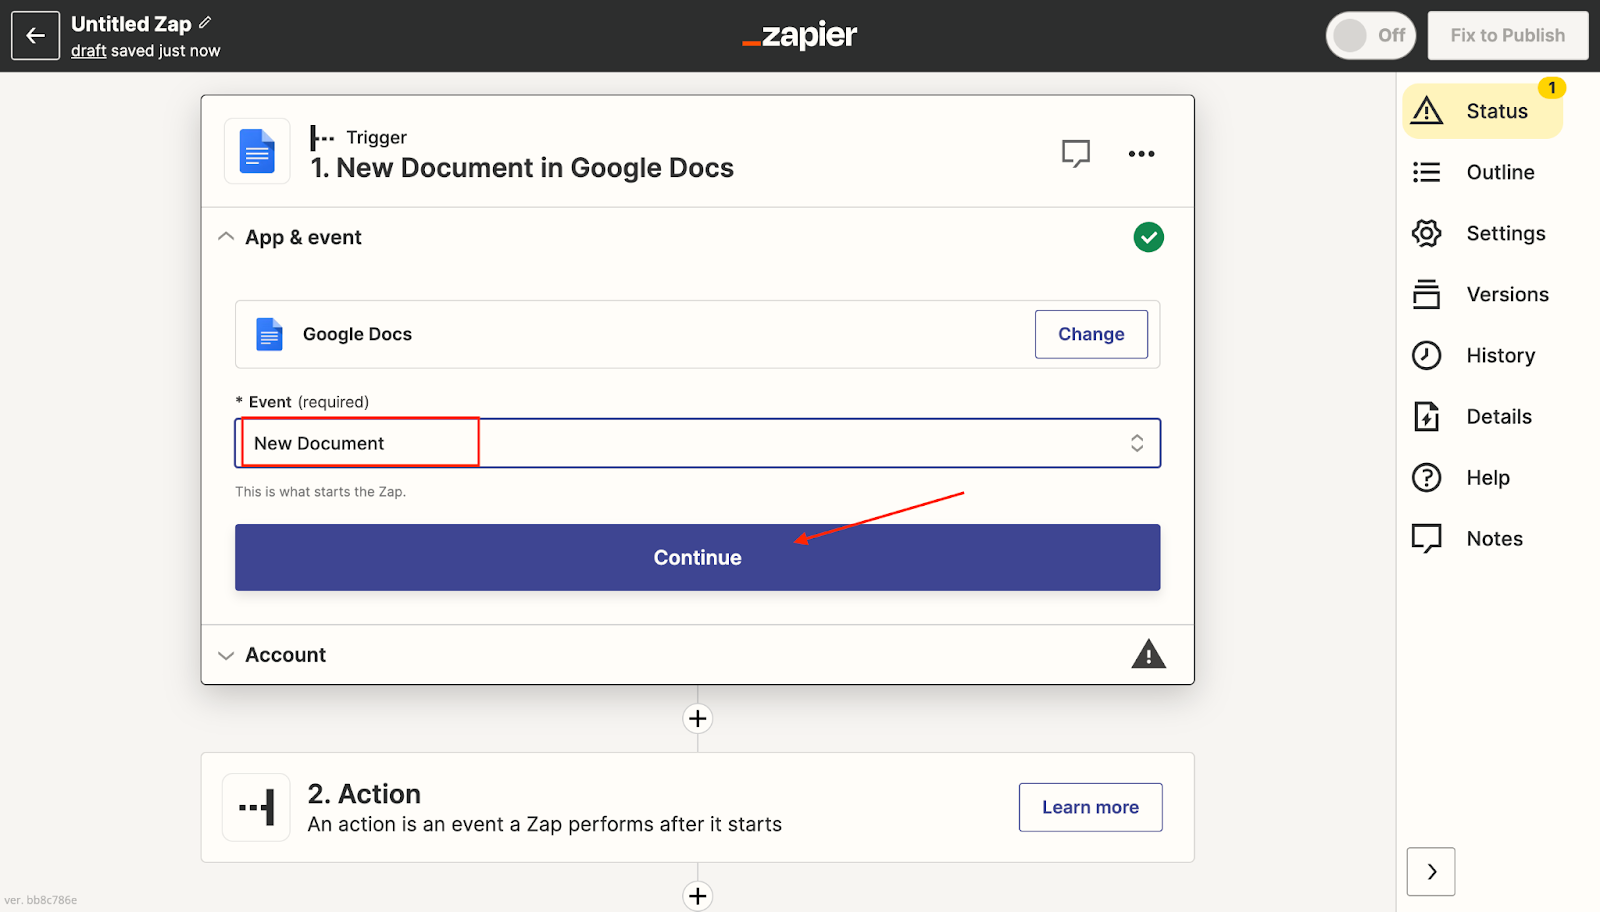
- In the 'Trigger' option, select 'Google Docs' as your data source. Choose the event you want to trigger the action (in this case we choose New Document) and click 'Continue'.
- Authorize Google Docs Sign in to your Google Docs account and authorize Zapier to access your documents. Once you've signed in, click on 'Continue' to proceed.

- Click on the 'Test trigger' button. Select the document you prefer for the trigger, then click on 'Continue with selected record'.

Step 3: Choose the Action Application
- For the action part of the Zap, search for 'MarketingBlocks' and select it.

- Choose the event you want to trigger in MarketingBlocks. For this demo, we'll select 'Update source'. Click 'Continue' once you've selected the event.

- Click on the 'Choose Account' button to add your MarketingBlocks account. Paste the API key you copied earlier into the appropriate field. Confirm by clicking on 'Yes, continue to MarketingBlocks'. Then, click 'Continue'.

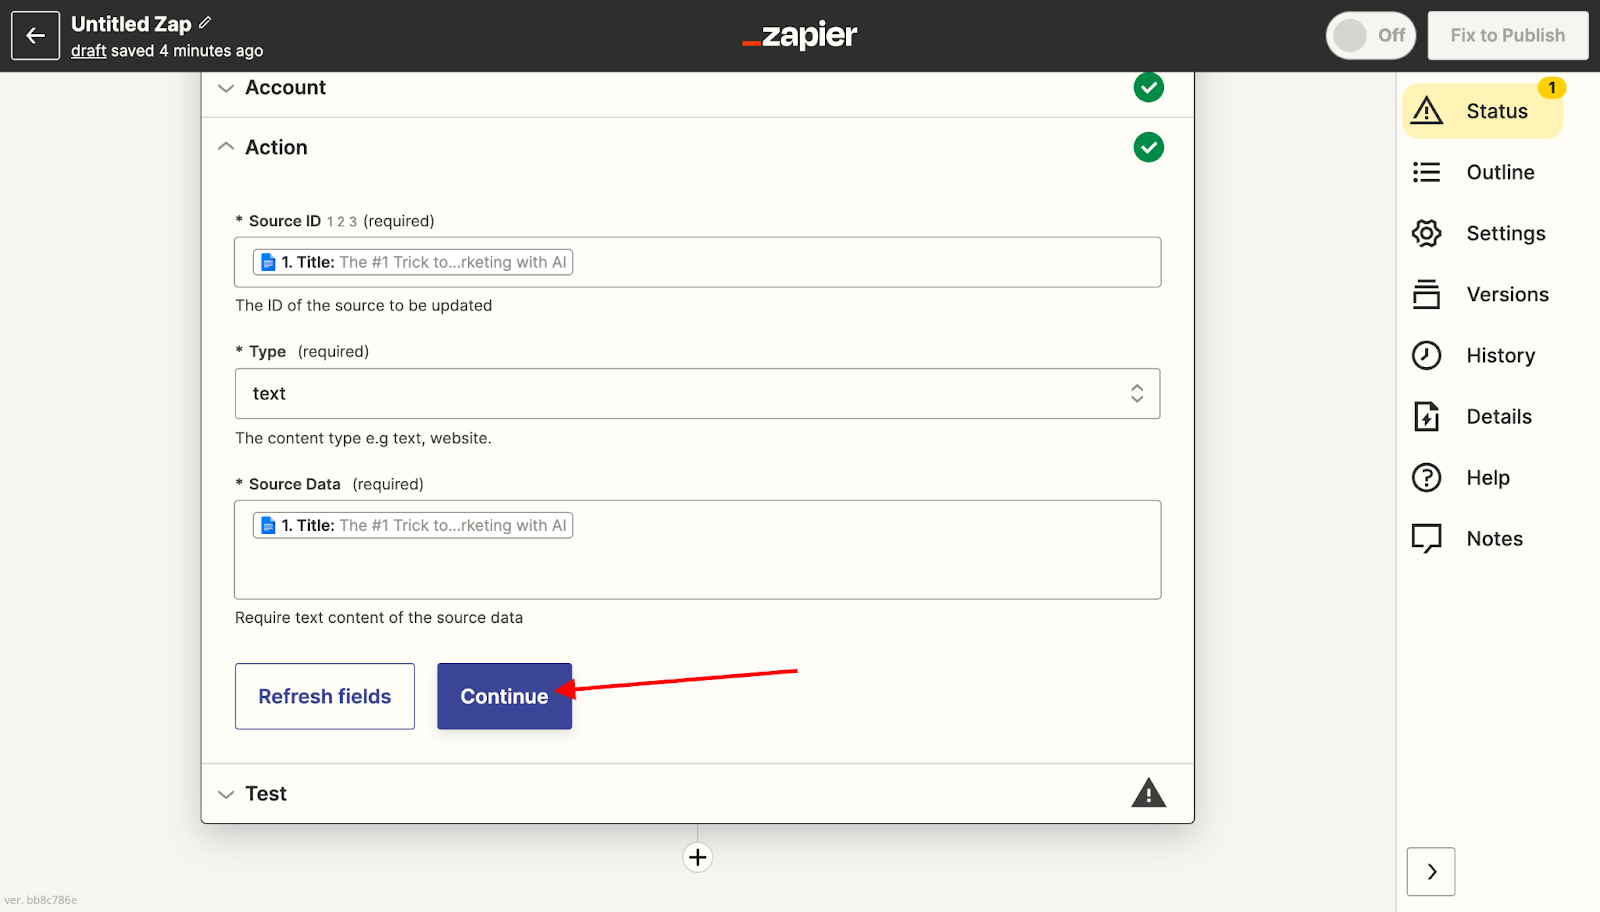
Next, select your data source and the type of source data within MarketingBlocks. After setting these details, click 'Continue'.
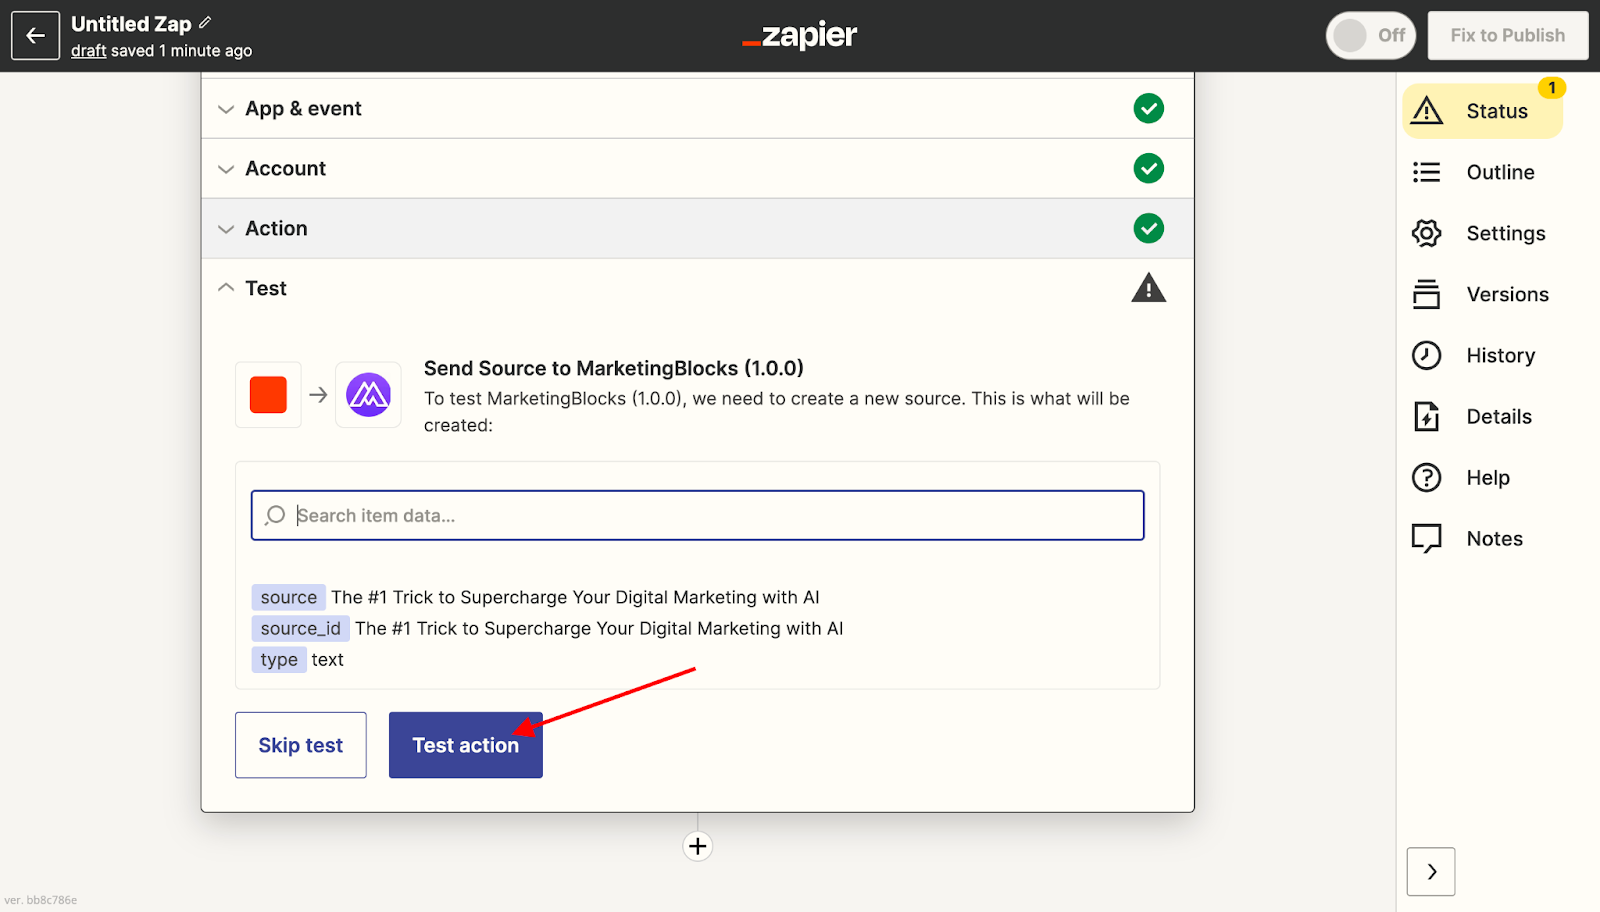
- Click on 'Test action' to ensure the connection works as expected. If the test is successful, you can proceed.
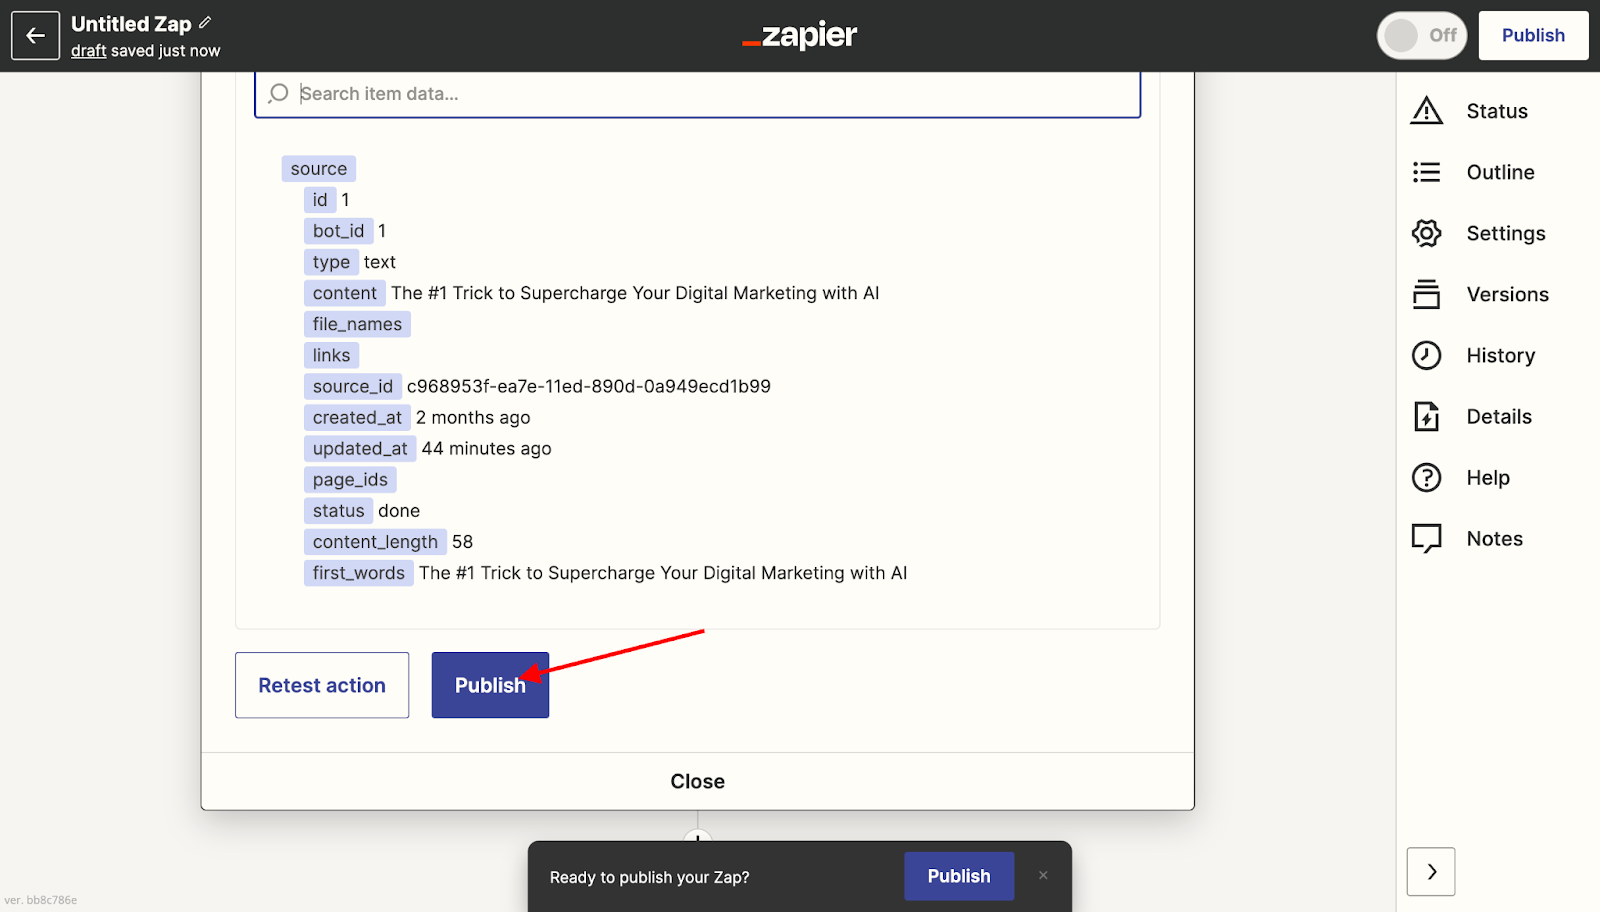
- Lastly, click on the 'Publish' button to finalize your Zapier integration.
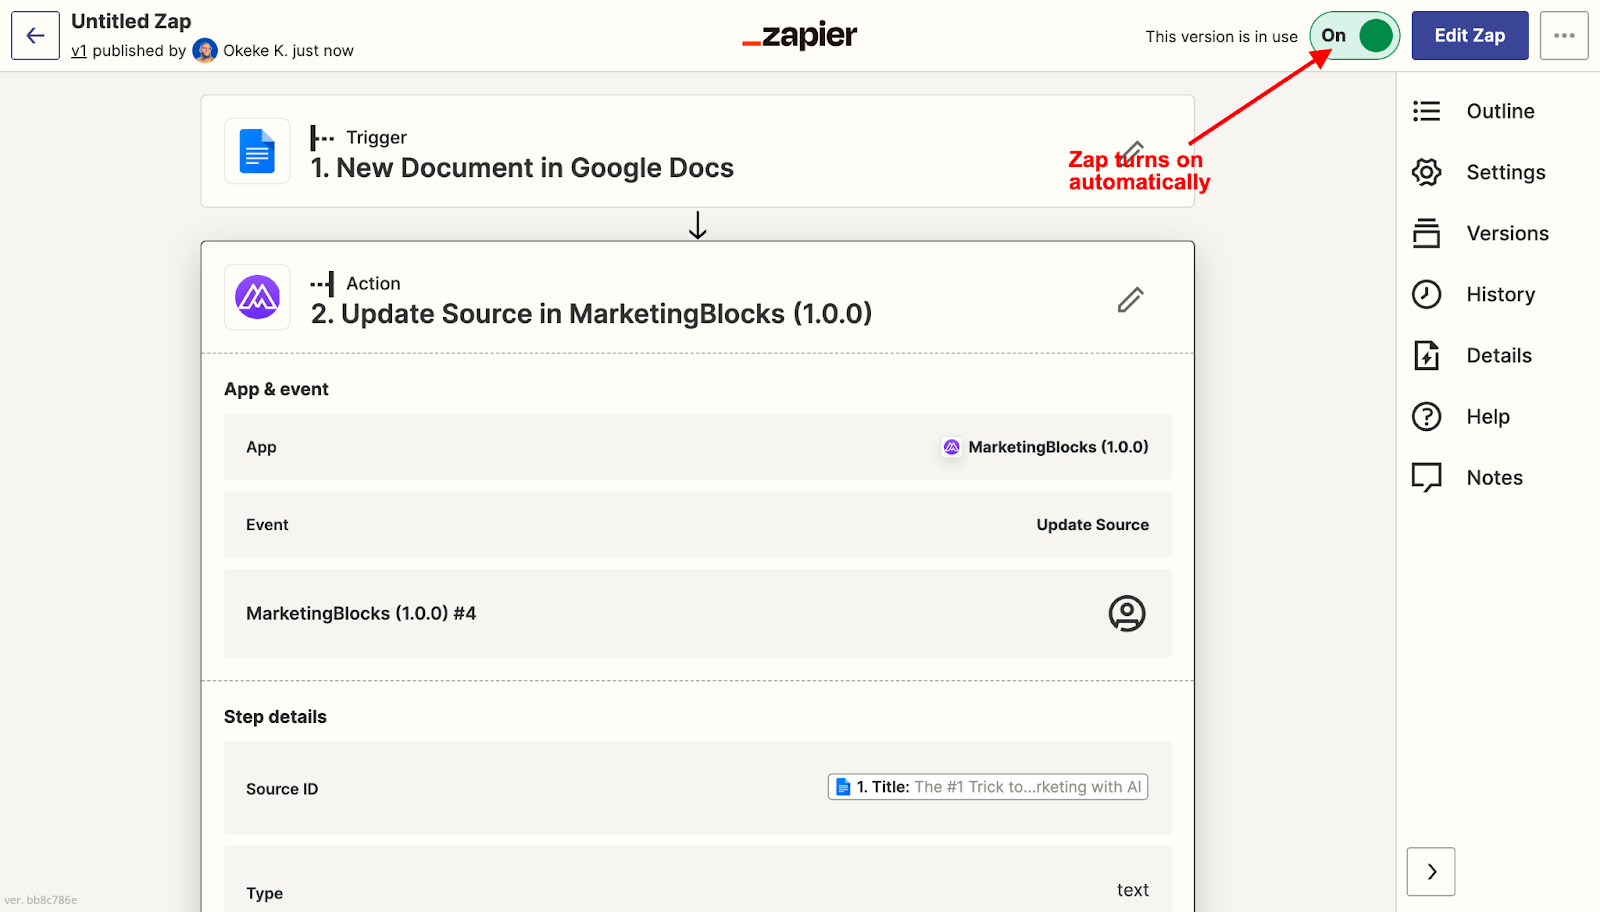
Once published, your Zap is turned on automatically. Your AI bot will now interact with Zapier, according to the rules set in the Zap.
Was This Article Helpful?
By following the above steps, you can easily integrate your data sources to improve your marketing efforts.
If you face any issues while creating an avatar or have further inquiries, kindly reach out to us via support@marketingblocks.ai.